I’ve recently decided to check out the different ways to power different models of Game Boy iterations. Being someone who usually upgrades the screen to an IPS version, the normal way of powering these handhelds with AA or AAA batteries usually isn’t convenient for extended play. I’ve found that the Game Boy Pocket is the console that gets its power drained most quickly. The humble Game Boy Color, which was relatively power efficient compared to its predecessors doesn’t drain too quickly, and from my experience, the GBA does drain rapidly (which might be surprising). Since the Game Boy Color is my favorite retro handheld, I’m in the process of comparing some battery kits for the system. Retrosix, who develop their own screen kits, battery kits, and much more, are well-respected participants in the retro modding scene. Here, I review their USB–C based battery kit, for the Game Boy Color. The kit is priced at $39.99 at Handheld Legend.
Installation
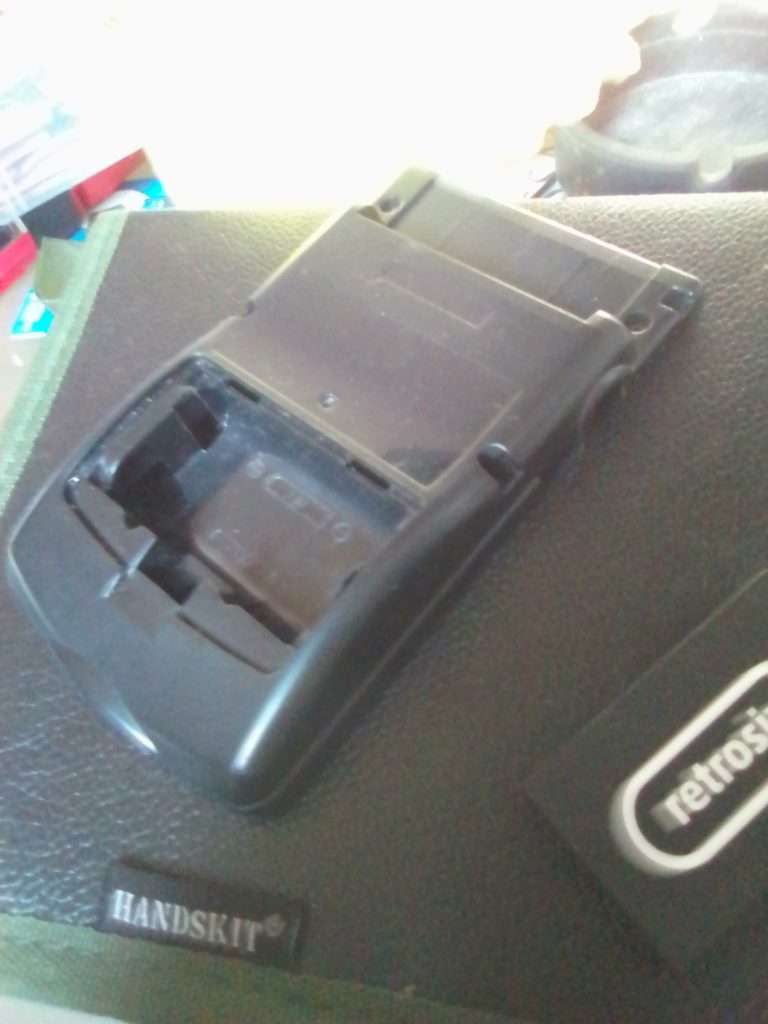
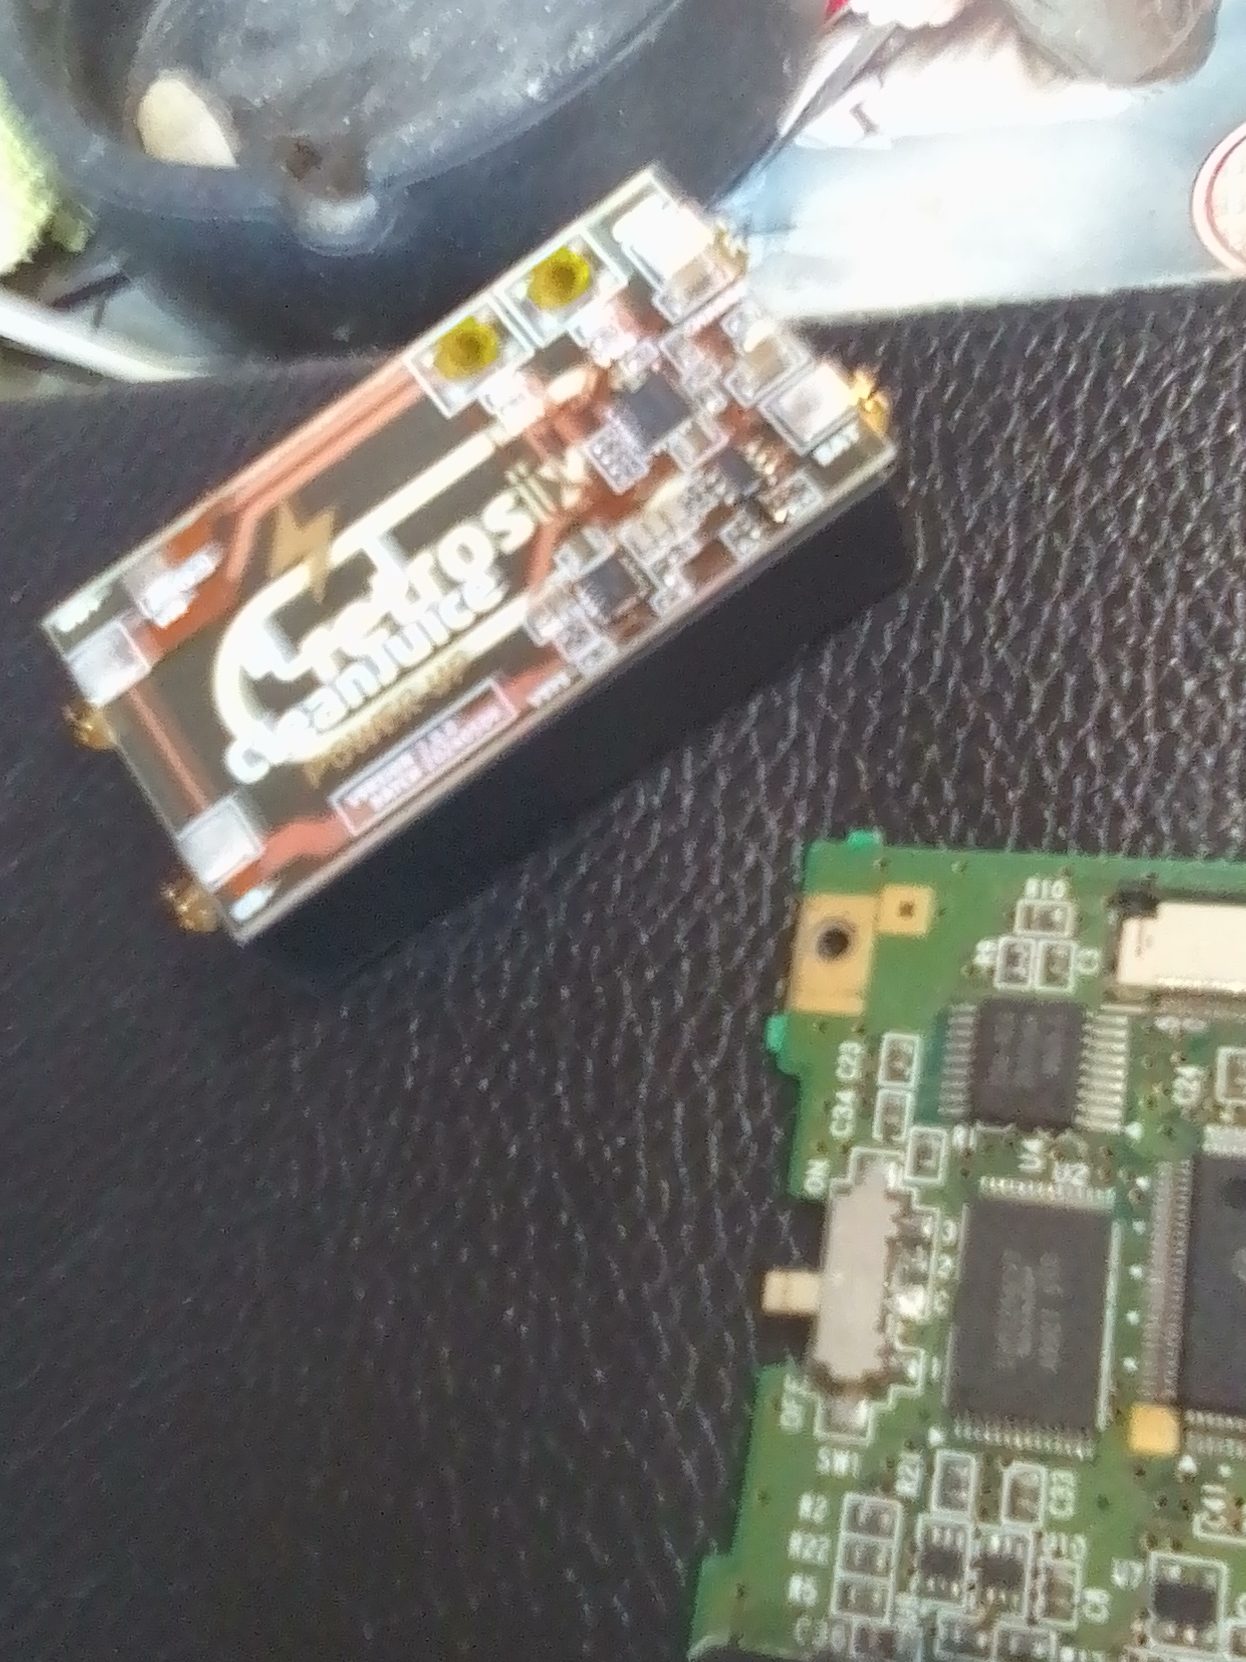
I’ve had this kit lying around for months, and now I’ve finally decided to install it. It includes a nice-looking PCB, a black battery with Retrosix etched onto it, and a USB-C port. This kit requires soldering. It requires a wire to be soldered from the USB-C port to the USB point on the board. I’d say it’s quite a good job for a beginner. However, if you haven’t got the exact correct Retrosix shell, you’ll have to modify the battery compartment on your own shell, and that can be difficult to get right. That’s the option I took. After cutting out most of the battery compartment the battery finally had a good fit.
The next step was to solder the USB-C port onto the PCB of the Game Boy Color. To do this you have to remove the port that exists to the right of the headphone jack. I heated it with a soldering iron and pried at it with pliers until it was removed. Then, it was a simple task of placing the USB-C port over where the removed element was and soldering it into place. I then also soldered the wire that needed to be attached to the battery PCB.
At one point the console would only turn on when the battery was on charge. With some maneuvering of the springs on the PCB (they have to touch both the battery terminals and the terminals of the Game Boy) the console would finally turn on when not being on charge. When you’re charging the console, the PCB lights up. One light is for the USB, and the other is for the Battery, showing that it’s charging. There’s also a light on the USB-C port. The lights are bright and colorful.
Performance
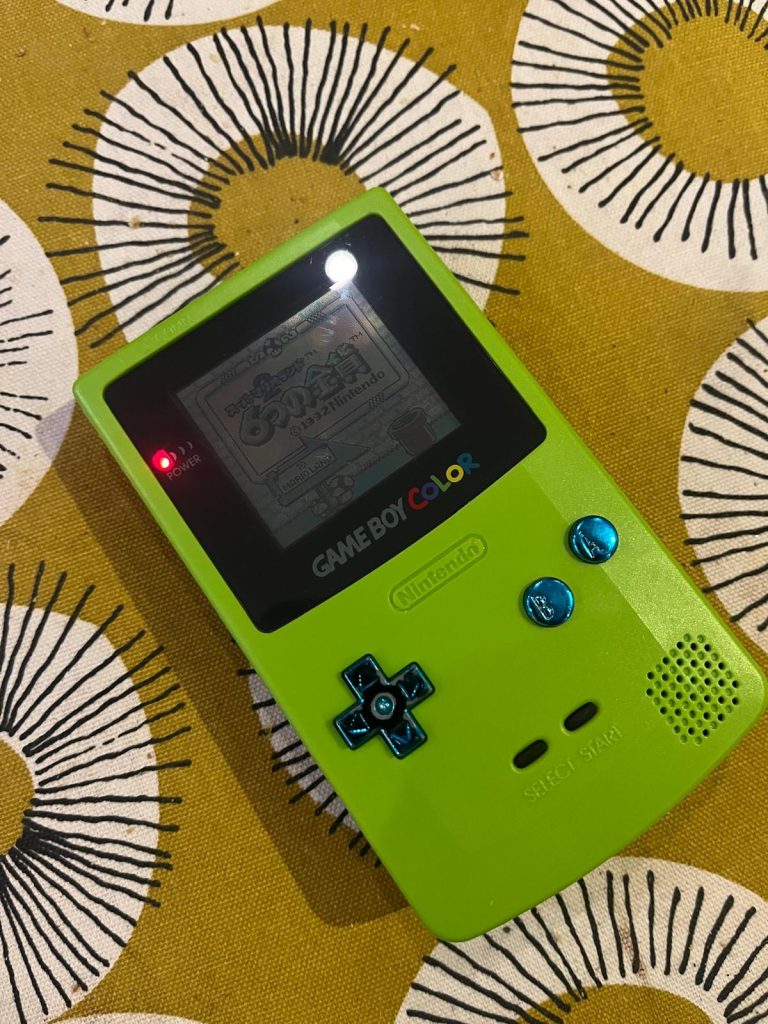
I finally had the battery fully installed. Incidentally, I’m using the console + battery mod with an original screen. I might install an IPS screen at some point and update this article in the future. The red power indicator was shining very bright throughout my first few hours of play. I’ve recently reviewed the HISPEEDIDO USB-C battery mod. The Retrosix and HISPEEDIDO battery mods are comparable, although the Retrosix mod is harder to install. In terms of performance, I need more time with both mods before I can decide which one will give the Game Boy Color longer playtime.
The red light indicator was bright throughout my first few hours of play. This Retrosix battery mod will definitely extend the playability of a Game Boy Color. The Game Boy Color can already run well with normal batteries if the system is using an original (non-backlit) screen. However, a battery mod will extend the battery life even further. Is it worth installing? Well, it’s an easy/medium level of difficulty to succeed with this project. If you are a beginner Game Boy modder it’s a good project. The lights on the kit make your system look customized and the kit is an asset to the system.
Conclusion
To sum up, the Retrosix Cleanjuice USB-C Battery Kit is a device that will extend the battery life of your Game Boy. It is relatively difficult to install. You need to remove an element from the Game Boy Color’s PCB, and then solder the USB-C port to the PCB. Then you need to use a Retrosix Game Boy Color shell or cut out space in an original shell, in order for the battery part of the kit to fit into the system. This can be difficult when you are modifying your own shell. However, it’s a fun mod, and will test you if you are a beginner. I haven’t had the opportunity to install an IPS kit with this mod. When I do, I’ll update this article. As it is the mod is a great way to extend the battery life of your Game Boy Color. Whether this mod is more efficient than the one offered by HISPEEDIDO or FunnyPlaying is yet to be seen, and I will try to compare these battery mods in future articles.


BongoBongo123 is an avid Zelda fan who also likes the odd game of Smash. His interests in gaming are broad but he loves a good Metroidvania or action RPGs.